Ok. This one was a little tricky to figure out. Hopefully, I have all of the steps figured out and that I can effectively communicate them to you. Hang on tight because here we go ....
Start with a piece of paper 8 1/2" x 5 1/2".
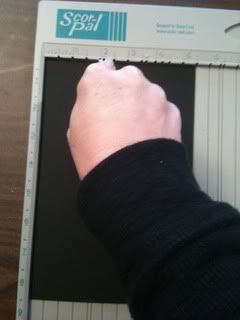
Place in ScorPal vertically with the 5 1/2" side at the top edge of the ScorPal. Score straight down at 2".
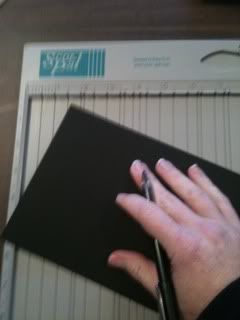
Rotate paper to horizontal position with the 2" side at the bottom. Score at 1" - scoring ONLY to the original 2" score line, 2" - scoring ONLY to the original 2" score line, 3 1/4" - scoring ONLY to the original 2" score line, 4 1/4" - scoring ALL the way across, and 6 3/8" - scoring ONLY to the original 2" score line.
Rotating..
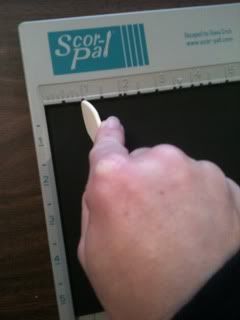
Scoring ...
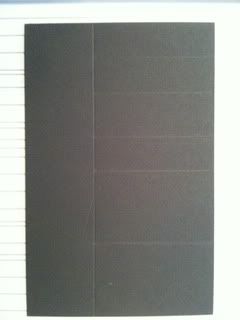
It should look like this after scoring ....
Fold paper in half at 4 1/4". Open back up.
With your Xacto knife, begin cutting a line where the 1" score line touches the 2" score line. Continue until you reach where the 2" line meets the 6" line - and stop there.
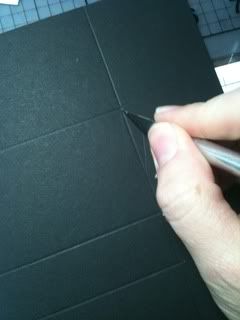
You should have a slit straight down the card from the 1" line to the 6" line.
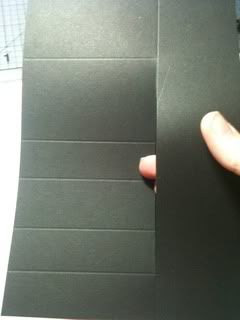
Beginning at the 1" score mark (folding to a mountain fold), fold the score marks in an accordion fold.
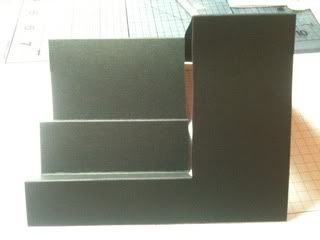
You should now have this .....
From this point, you're on your own! Decorate, stamp, embellish, flourish, have fun. Make the card beautiful, whimsical, fun, and/or amazing! Please try this and let me know what yours looks like. I wanna see!!
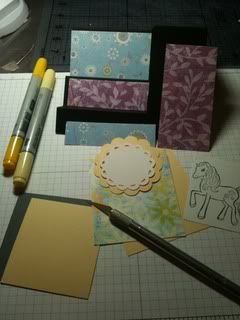
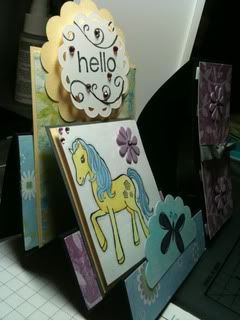
My finished project -
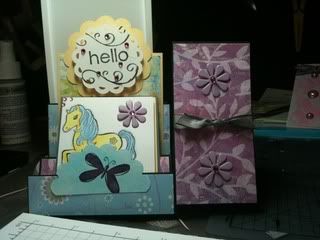
I used SU black, basic gray, and So Saffron paper and patterned paper by DCWV. Flower brads and self-adhesive crystals embellish the front. Pony Party stamp set was used for the adorable pony, and Sweet Shapes was used for the Hello and the butterfly. I'm not sure if I like this particular card - I don't use a lot of yellow normally (not my favorite color....), but I guess in general, I think it's ok.
Let me know if you try this card and if I left out anything. I want to make sure it's an accurate step-by-step tutorial. :)
Have a wonderful day and a great, big, beautiful tomorrow!!
~*Shell*~


